Git 101
Level: Beginner Offerred: Fall 2025 Time: 1-1.5 hours
Slide deck
Workshop recording
Git cheat sheet
This workshop is designed for both beginner and intemediate Git users. Even if you are familiar with Git, mastering the collaborative aspects of version control is essential for effective for working on softtware projects in a team.
To complete this workshop, follow along in the slides and complete the tasks on your computer as they appear. Good luck!
Task 0: Environment Setup
Section titled “Task 0: Environment Setup”- Create a GitHub Account
- Go to GitHub and sign up for a free account
- If you already have an account, make sure you can log in
- Install Git
- Check if you have git installed
Terminal window git --version - If not, download Git for your OS
- Check if you have git installed
- Have an IDE or text editor
- We use VS Code, but Vim, Emacs, or even Notepad will work
Task 1: Create and Clone the Repository
Section titled “Task 1: Create and Clone the Repository”1. Create a New Repository on GitHub
-
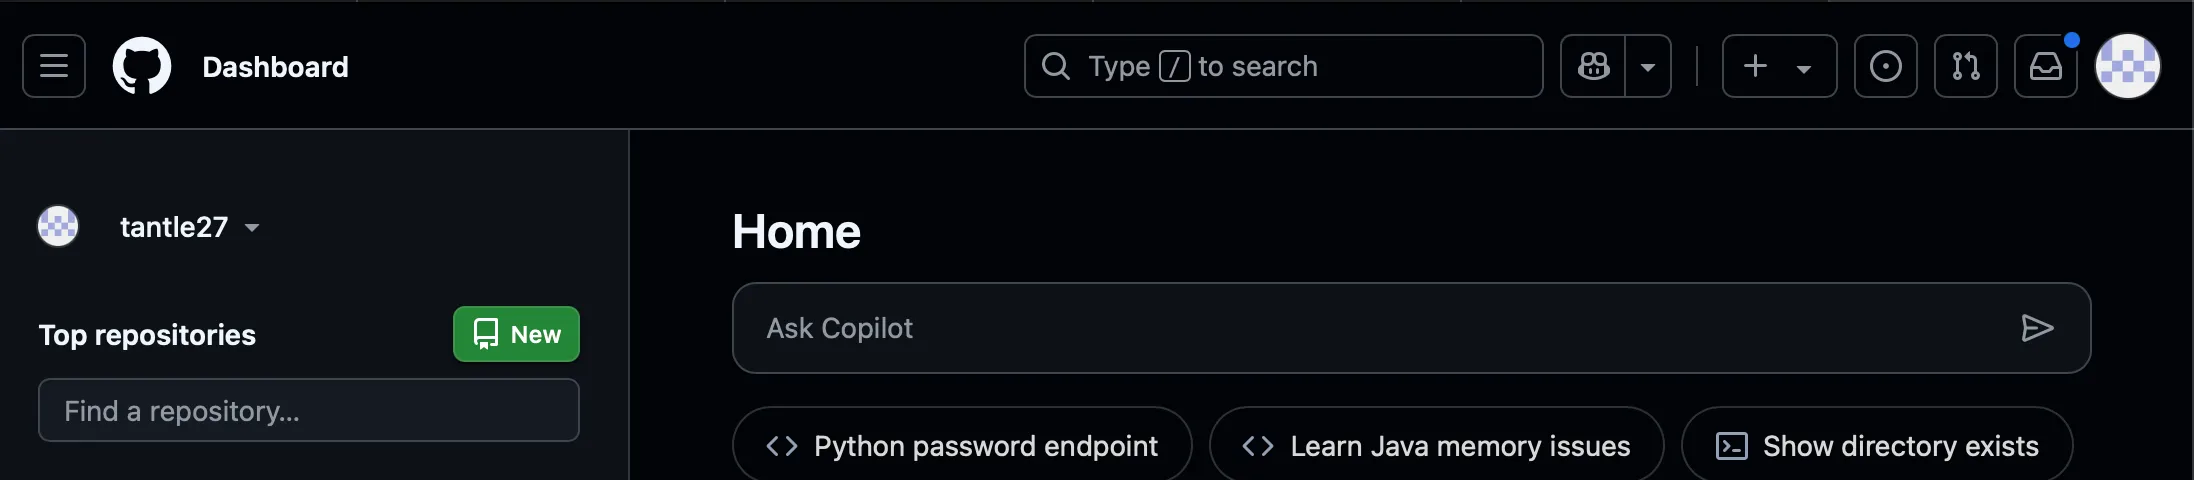
Go to GitHub
-
Click the New button or navigate directly to https://github.com/new
-
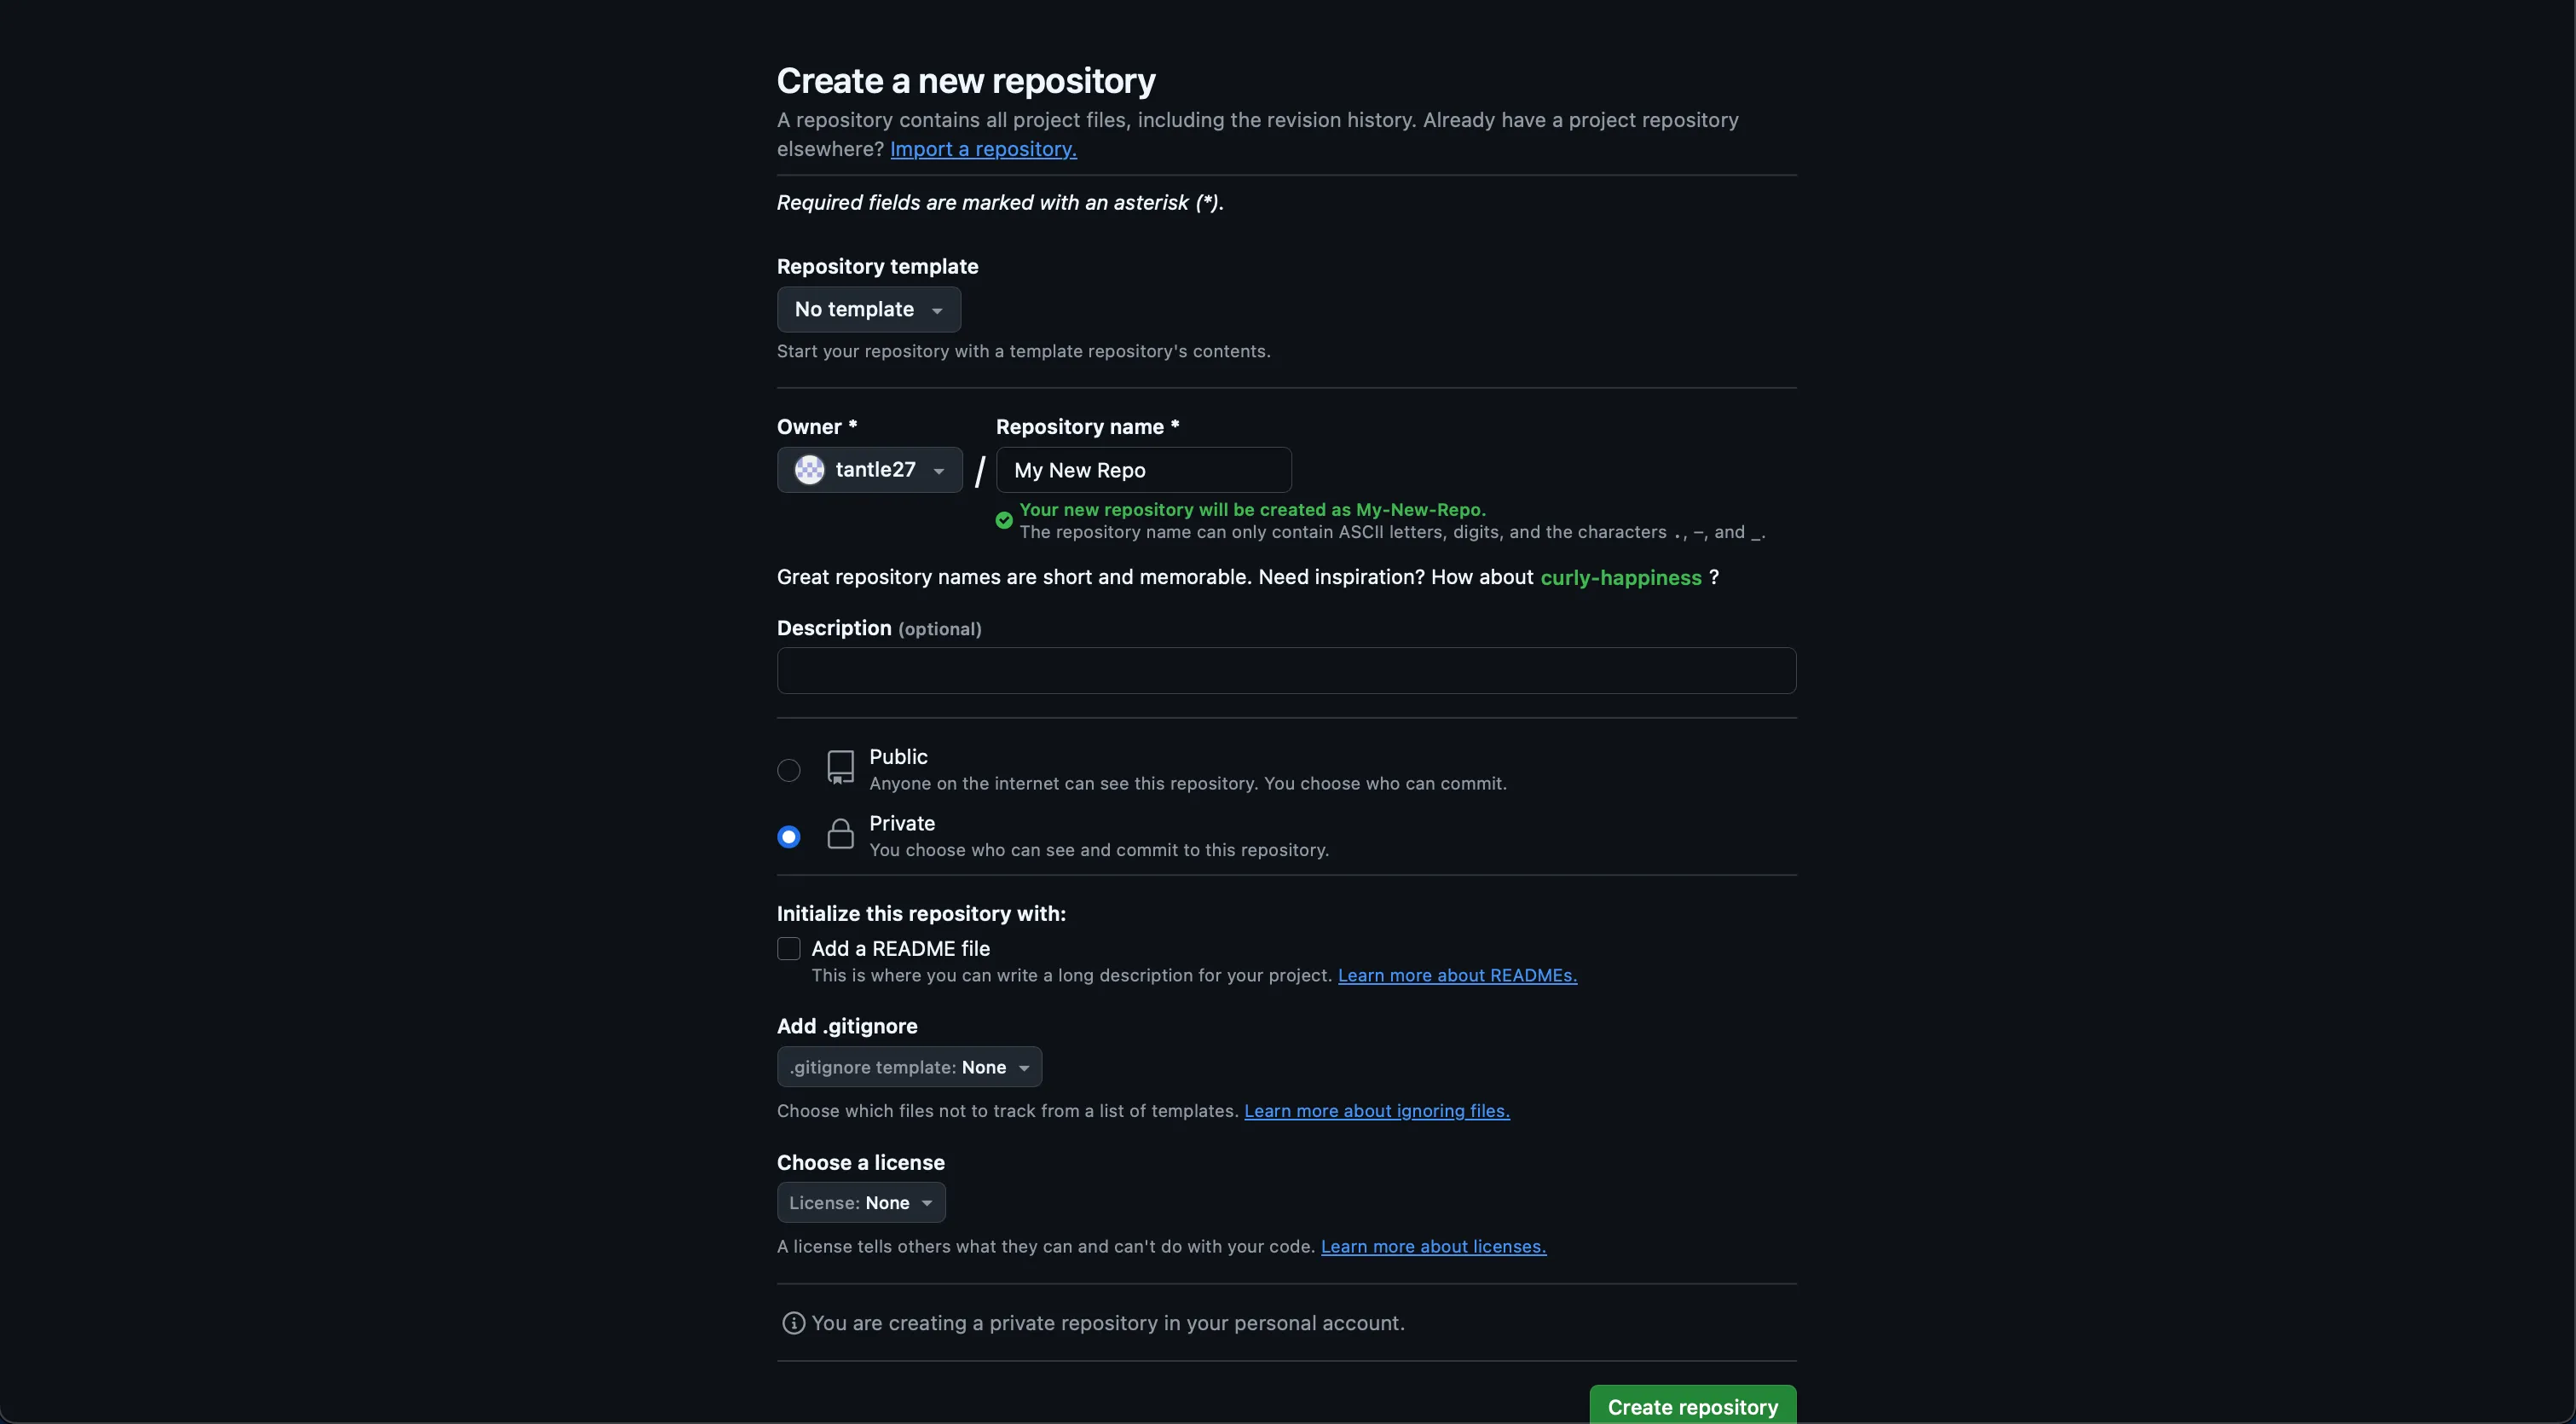
Fill in the repository name and an optional description
-
Choose the repository visibility (Public or Private). We will use Public for this workshop (to avoid having to setup an SSH Key)
-
Click Create repository to finish setting it up
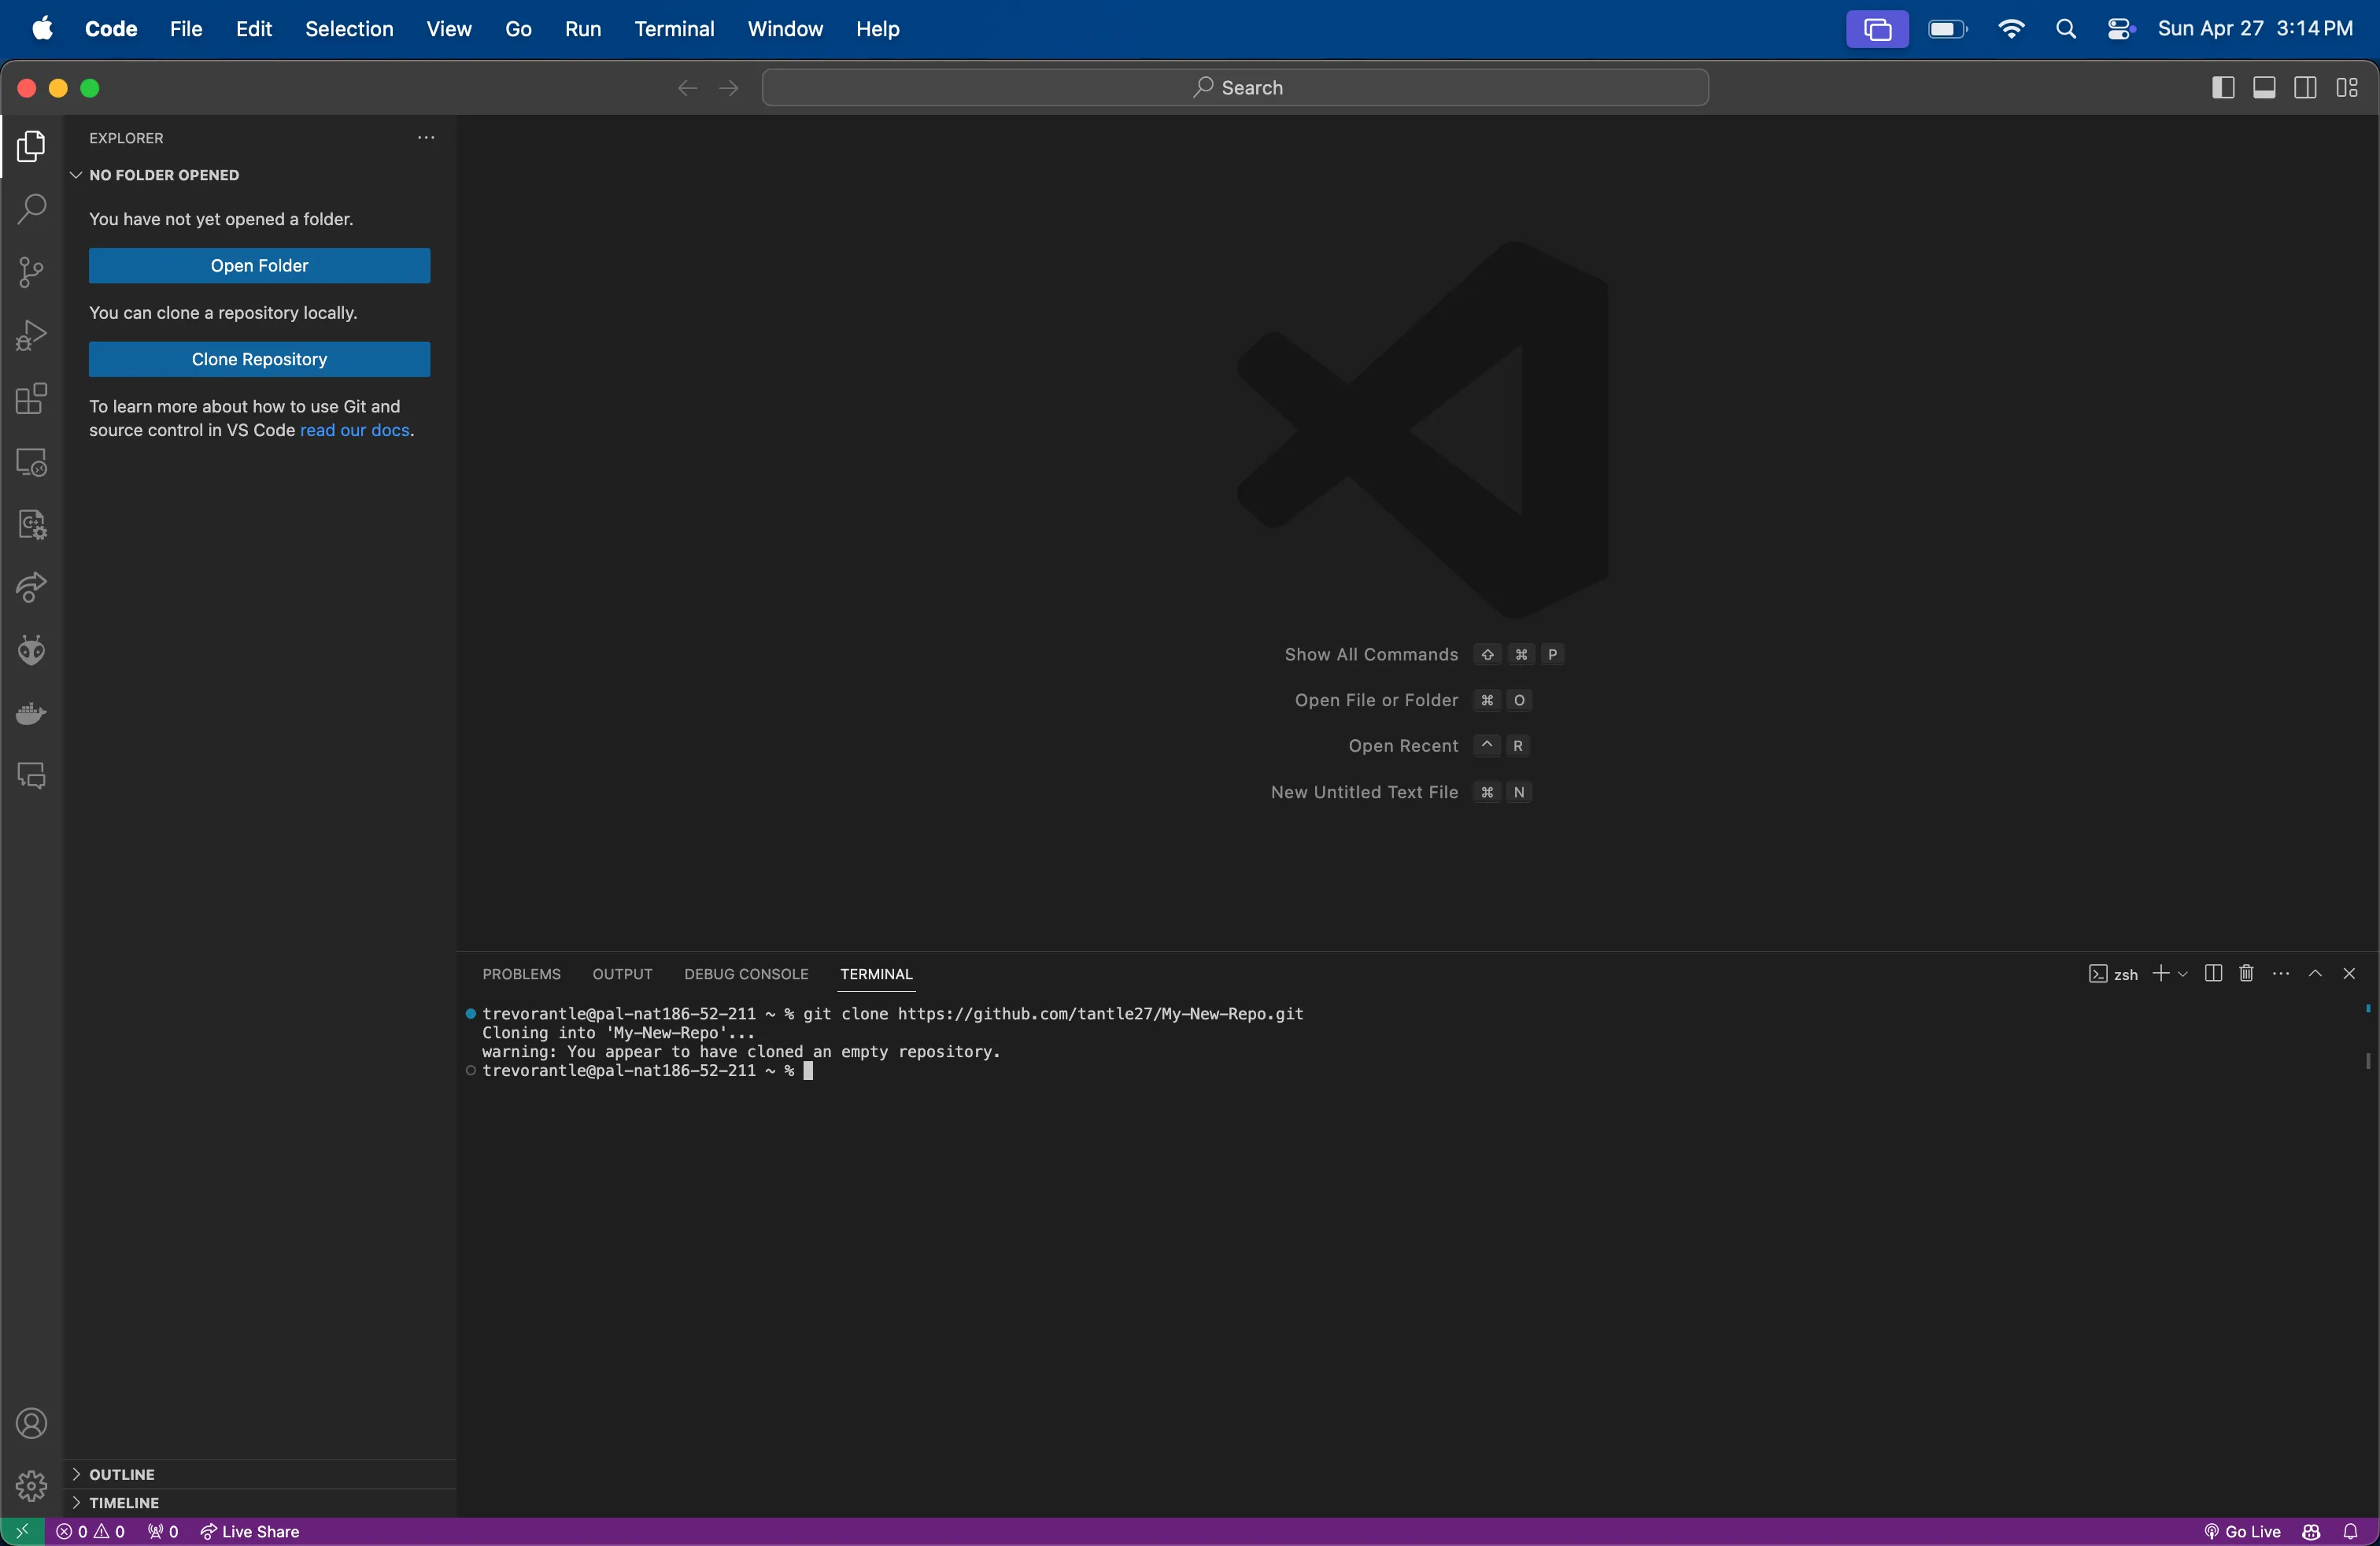
2. Clone the Repository Locally
-
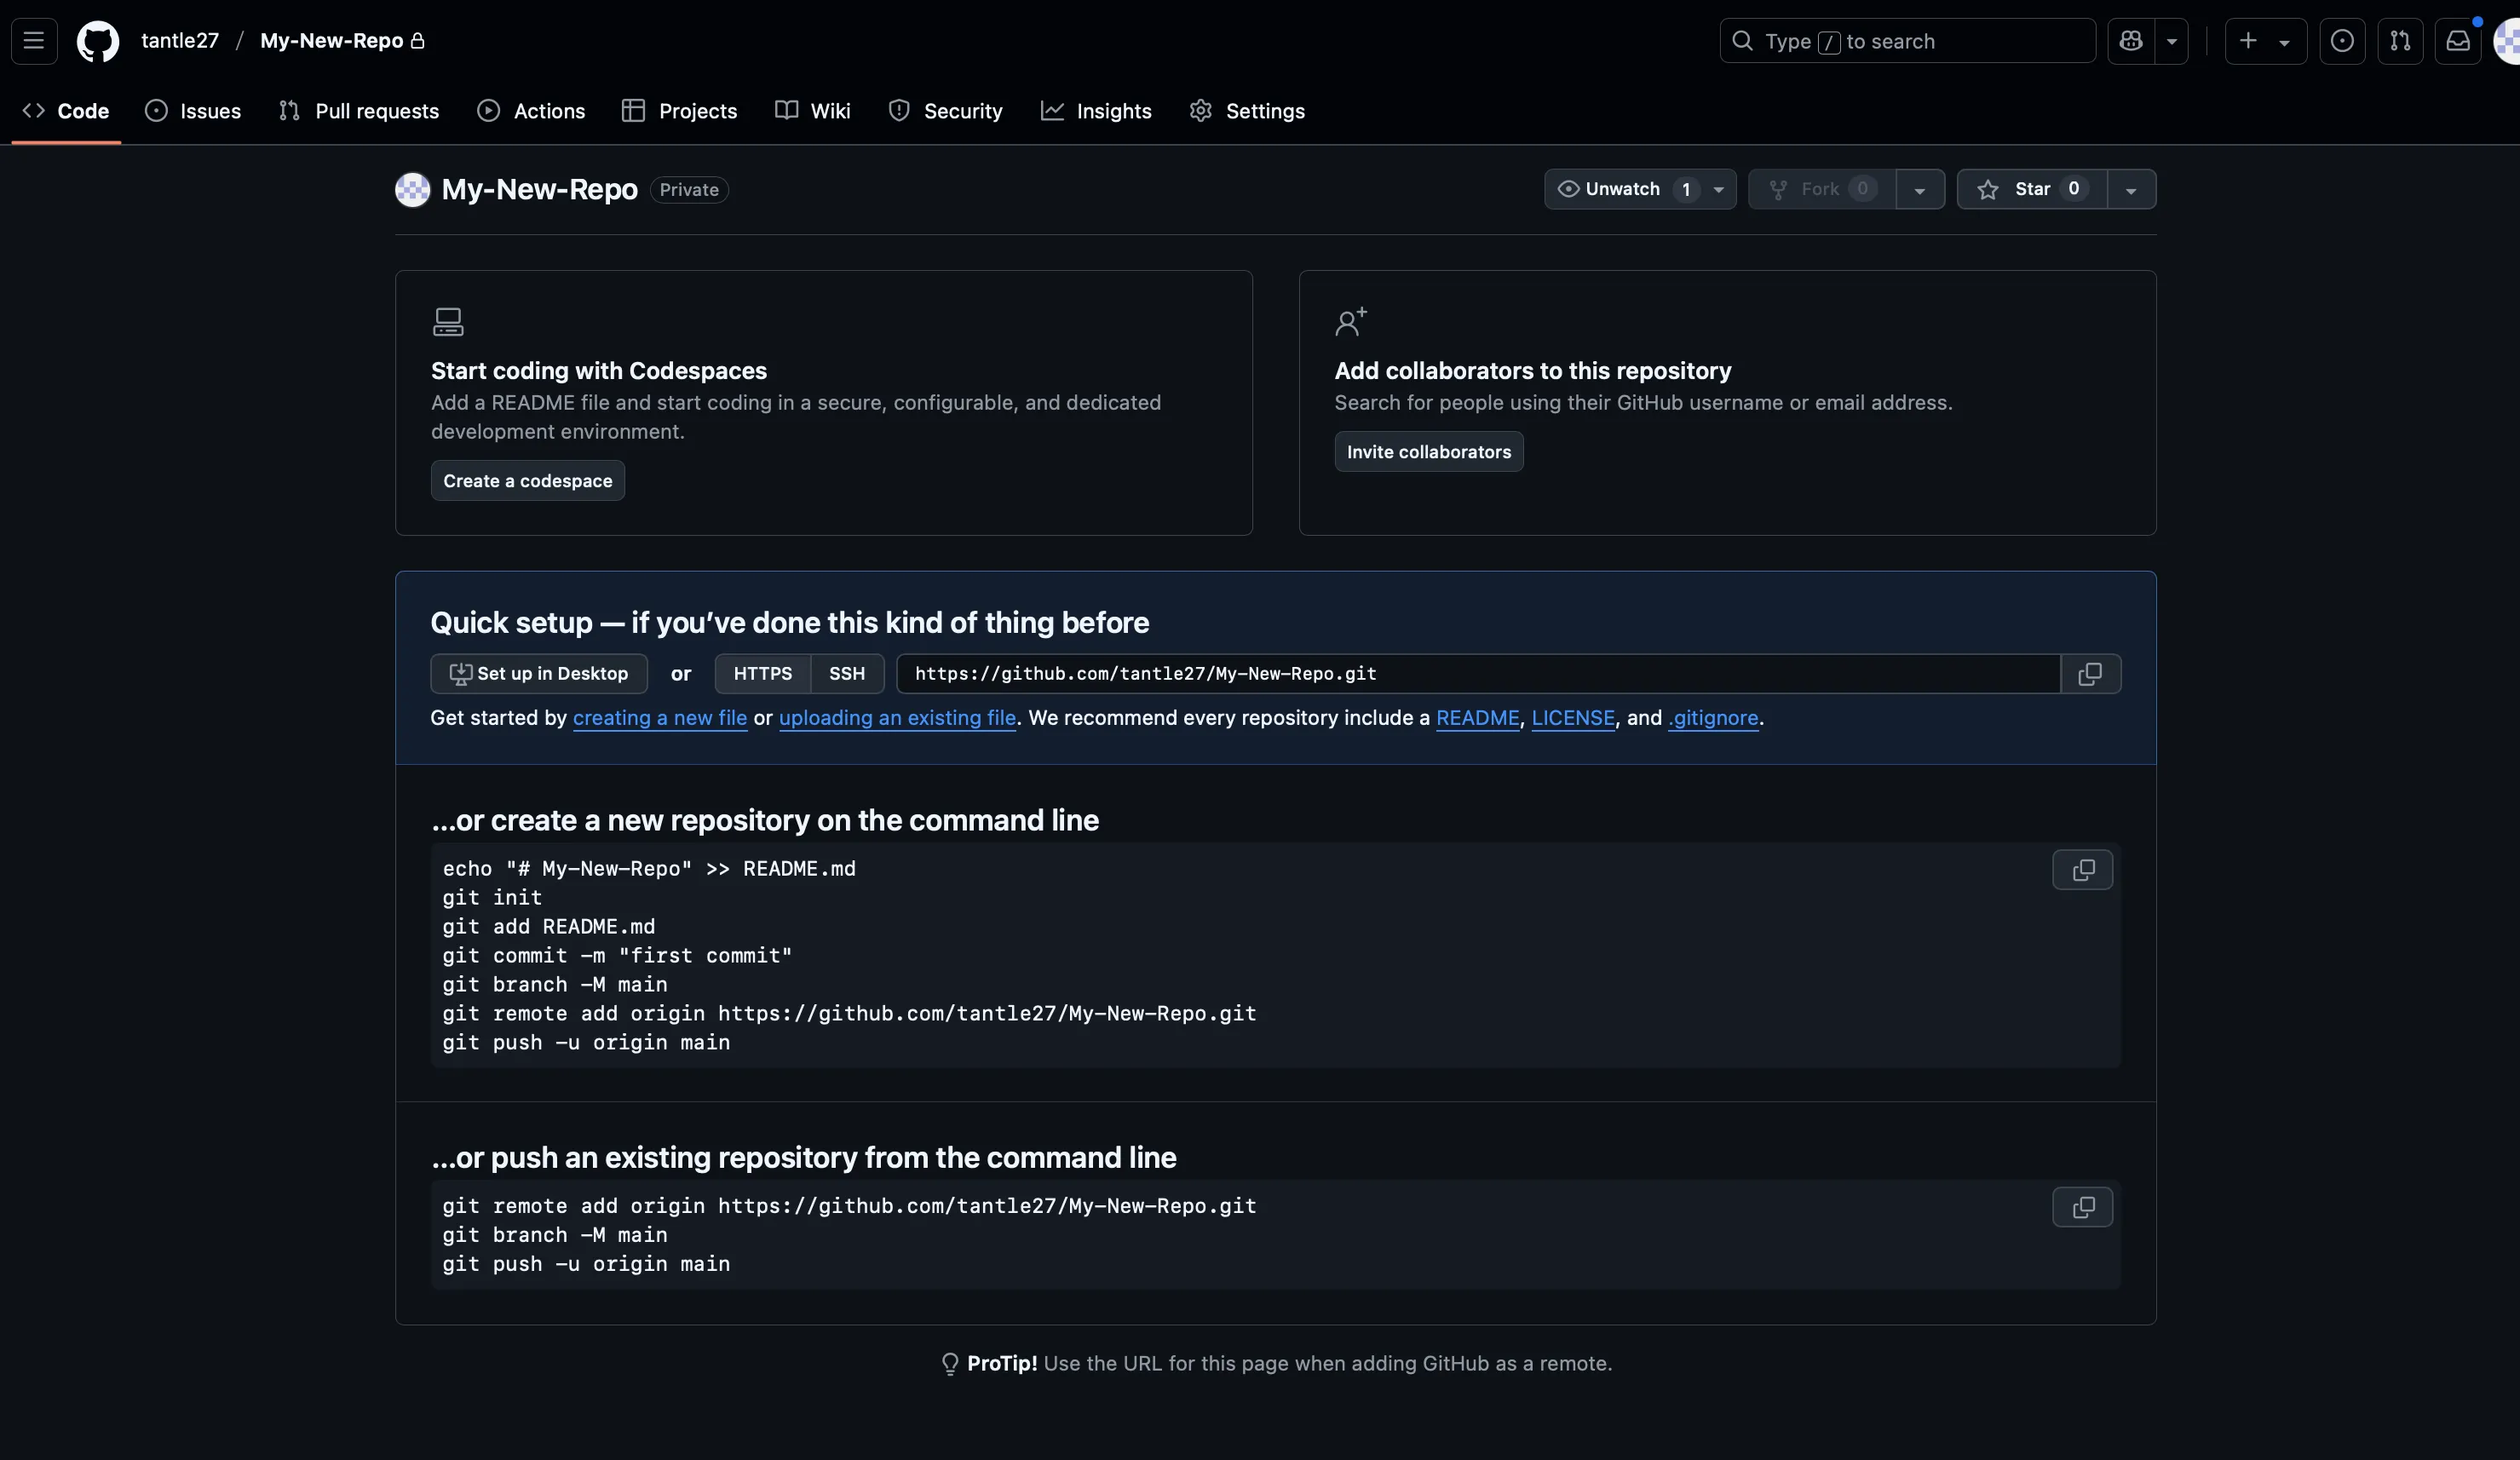
Copy the repository URL (choose HTTPS or SSH) from the GitHub page.
-
Open a terminal and run the following command to clone the repository:
Terminal window git clone <repository_link>- Replace
<repository_link>with the URL you copied
- Replace
3. Navigate to the Cloned Repository
-
After cloning, move into the repository directory:
Terminal window cd <repository_name>- Replace
<repository_name>with the name of your repository.
- Replace
Task 2: Make and Push Changes
Section titled “Task 2: Make and Push Changes”1. Create New Files Create a simple text file and a README file inside your cloned repository:
echo "Hello, world!" > hello.txtecho "# My First Repository" > README.mdThis creates two files: hello.txt and README.md.
2. Check the Repository Status See which files have been added or changed:
git status3. Add Files to the Staging Area
You have two options:
- Add a specific file:
git add README.mdThis only stages README.md.
- Or add all changed files at once:
git add .This stages both hello.txt and README.md, and any other new or changed files.
4. Commit the Changes Create a commit with a clear message:
git commit -m "Add hello.txt and README.md"5. Push the Commit to GitHub Send your changes to the remote repository:
git push6. Verify
Go to your GitHub repository page and check that both hello.txt and README.md are there.
Task 3: Create a New Branch, Work Independently, and Tag a Release
Section titled “Task 3: Create a New Branch, Work Independently, and Tag a Release”This task will help you practice managing your own work safely in a repository before collaborating with others.
1. Create a New Branch Create a new branch to safely test changes without affecting the main branch:
git checkout -b solo-changes2. Create a .gitignore File
A .gitignore file tells Git to ignore specific files or folders you do not want to track.
Create a simple .gitignore:
echo "*.log" > .gitignoreThis will ignore any files ending with .log.
3. Make and Track Changes
- Add
.gitignoreto the staging area:
git add .gitignore- Commit it:
git commit -m "Add .gitignore to ignore .log files"Now, create a dummy .log file to test .gitignore:
echo "Temporary log data" > temp.logCheck that temp.log does not appear in git status.
This shows .gitignore is working!
4. Edit Another File
Make a simple change to hello.txt:
echo "More text added during solo branch work." >> hello.txtStage and commit it:
git add hello.txtgit commit -m "Update hello.txt with more text"5. Merge Your Solo Work Back into Main Switch back to the main branch:
git checkout mainPull latest changes (just in case):
git pullMerge your solo branch:
git merge solo-changes6. Push Your Updated Main Branch Push your changes to GitHub:
git pushTask 3 Complete:
You created a safe solo workflow, set up a.gitignore, and merged without conflicts.
Task 4: Collaborate, Merge Feature Branches Together, and Submit a Pull Request
Section titled “Task 4: Collaborate, Merge Feature Branches Together, and Submit a Pull Request”This task simulates real teamwork where multiple developers’ branches must be merged before submitting to main.
1. Find a Partner Pair up with someone else in the workshop. You will continue working inside your original repository.
Important: Only the repository owner needs to invite the other as a collaborator.
- Go to your GitHub repository page.
- Click Settings > Collaborators > Add people.
- Invite your partner using their GitHub username.
- The invited partner must accept the invitation.
2. Set Up Locally
- Repository owner: continue working in your existing repository.
- Invited partner: clone the repository and navigate into it:
git clone <repository_link>cd <repository_name>3. Each Partner Creates Their Own Feature Branch Each person creates a feature branch:
git checkout -b feature-[yourname]4. Each Partner Makes Different Changes
On your own feature branch:
- Create a new
.txtfile with your name:
echo "Notes from [Your Name]" > yourname_notes.txt- Edit the
README.mdfile — edit the same section (e.g., first paragraph) so that a merge conflict happens later.
5. Add, Commit, and Push Your Feature Branch
git add .git commit -m "Feature work by [your name]"git push origin feature-[yourname]6. One Partner Merges Both Feature Branches Together Locally
Pick one partner to be the integrator.
The integrator must:
- Pull the other partner’s branch into their local repository:
git fetch origin feature-partner2git checkout feature-partner1 # stay on their own feature branchgit merge origin/feature-partner27. Resolve Merge Conflicts Locally (If Any)
If a conflict happens (likely in README.md):
- Git will show you the conflict.
- Use a merge editor (VS Code or CLI) to resolve it:
- Keep important parts from both versions.
- Make the file clean and correct.
- After fixing conflicts:
git add .git commit -m "Merge feature-partner2 into feature-partner1"8. Push the Combined Feature Branch
After merging and resolving conflicts:
git push origin feature-partner1This now holds both people’s work.
9. Create a Single Pull Request Into Main
- Go to GitHub.
- Open a pull request:
- From
feature-partner1 - Into
main
- From
- Title: “Combined Feature Work from Partner 1 and Partner 2”
- Description: explain what changes were made by each partner.
10. Review and Merge the Pull Request
- Review the pull request carefully.
- Approve and merge it.
- Delete the merged feature branch if desired.
11. Everyone Pulls the Updated Main
After merging the PR:
git checkout maingit pullClean up local branches:
git branch -d feature-partner1git branch -d feature-partner2Why this matters:
In real projects, teams often merge and test each other’s branches together before opening one clean pull request intomain, reducing merge noise and improving code quality.
Extra Resources
Section titled “Extra Resources”Contributions
Section titled “Contributions”The slide deck and writeup were created by Alex Aylward. Exercises were created and documented by Trevor Antle.